Shot 13:
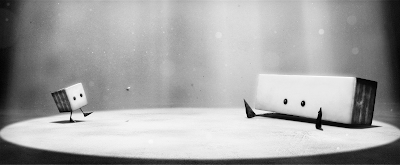 The first shot with both characters together. This was complicated in terms of creating a working light set up within Maya. The number of render layers have also been doubled.
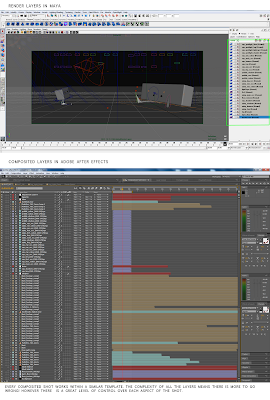
(Light setup, render layers and After Effects composite)
Shot 15:
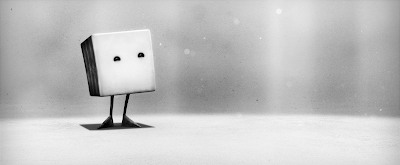 Shot 17:
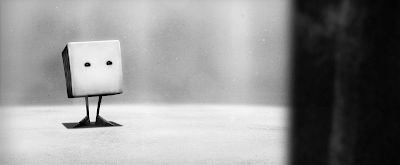 To create a sense of depth with this over the shoulder shot, I applied the 'Lens Blur' filter within After Effects to the Splay layer. The amount of blur will be toned down slightly.
Shot 18:
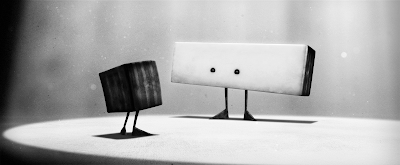 Shot 20:
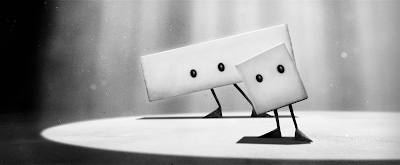
I think some adjustment with contrast will need to be made, as in some shots, it appears as if there is a wall of rock surrounding the characters rather than the rays of light. I am also slightly concerned that the style looks more two dimensional based than three dimensional. I may be wrong. It will be easier to see how this works once every file been exported as a movie file from Adobe After Effects. This will be a time consuming process this week, so the sooner I start doing this the better.
No comments:
Post a Comment